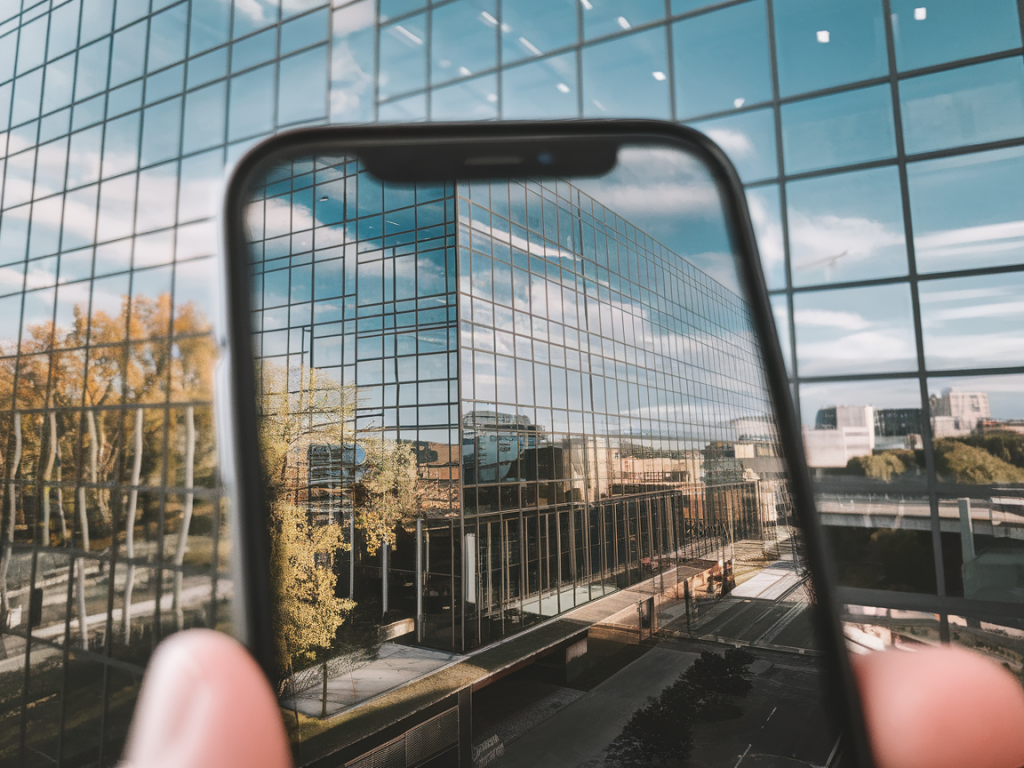
I have a soft spot for reflective surfaces. Whether it's a shop window catching a late-afternoon sky, a puddle doubling a row of lampposts, or the impossible depth of a bathroom mirror, reflections can make ordinary scenes feel unexpectedly cinematic. But they can also trip you up in the most frustrating ways: unwanted photographer-in-frame, glare that washes out detail, and confusing exposures. Over the years I’ve learned a few smartphone-friendly techniques that help me photograph glass, chrome, and mirrors without getting caught in the “mirror trap.” Here’s what I actually do when I want clean, dynamic reflections with a phone camera.
Understand what causes the mirror trap
Before diving into fixes, it helps to understand the mechanics. A mirror or polished surface reflects light and whatever’s in front of it. When you point a camera at that surface, the lens and the photographer become part of the scene unless you change your angle, distance, or the lighting. Reflections are also specular (bright and directional) rather than diffuse, so they can produce hotspots and glare that confuse your phone's metering and autofocus.
Choose your angle carefully
One of the simplest tricks is also the most effective: move. Rather than shooting straight on, shift slightly left or right, higher or lower. When you change the angle, the mirror reflects a different part of the scene — often one that doesn’t include you.
- Oblique angles: Aim for 15–30 degrees from the surface when possible. This often prevents your camera from being reflected directly back.
- Use the law of reflection: The angle of incidence equals the angle of reflection. Imagine an invisible line perpendicular to the surface and adjust your position so the reflected view misses you.
- Step back and zoom: If your phone has a tele or portrait mode, step back and zoom slightly. That changes the geometry and can reduce your silhouette in the reflection.
Control lighting like a pro (without pro gear)
Lighting makes or breaks reflective photography. Bright, direct light produces hard glares; soft, even light reduces hotspots and preserves detail.
- Avoid direct flash: Phone flash directed at the surface creates an obvious hotspot. Use ambient light or an off-camera light source if available.
- Diffuse harsh light: A simple trick: drape a white scarf, a lightweight shirt, or even a sheet of tracing paper over a lamp (careful with heat) to soften it. On outdoor shots, wait for overcast light or shoot during golden hour.
- Use side lighting: Light hitting the surface from an angle creates texture and depth without reflecting your camera straight back.
- Backlighting for silhouettes: If you want a moody silhouette instead of a clear reflection, position the main light behind the reflective surface so the surface becomes a dark mirror.
Hide the camera (and yourself) creatively
Sometimes you have no choice but to be near the reflective surface. I rely on these tricks when I can’t move far enough away:
- Use a gap or edge: Keep your body hidden by a door frame, pillar, or car door. Only the camera peeks out.
- Wear dark, non-reflective clothing: Dark colors reduce the chance of a visible reflection compared with bright or shiny fabrics.
- Angle the phone vertically: When photographing a horizontal mirror (like a tabletop), holding the phone edge-on can minimize your profile in the reflection.
- Camouflage your reflection: Position another object between you and the mirror — a plant, a person, a lamp — so the mirror reflects that instead of you.
Use accessories that make a difference
You don’t need pro gear to improve reflection shots. A few inexpensive accessories have saved me many retakes:
- Small portable polarizer: Clip-on circular polarizers exist for phones (brands like Moment or Sandmarc). They can reduce glare and increase contrast, especially on windows and water. Note: polarizers also darken skies and may affect exposure—use judiciously.
- Foldable reflector/diffuser: A 5-in-1 reflector (gold, silver, white, black, diffuser) is compact and helps shape light or eliminate unwanted reflections.
- Microfiber cloth: Clean glass makes a huge difference. Fingerprints on mirrors or windows create weird highlights; wipe them away before shooting.
- Bluetooth remote or timer: If you must be near the mirror for composition, set a timer or use a remote so you can step away before the shutter clicks.
Camera settings and phone features to use
Smartphones are powerful, but you have to tell them what to prioritize.
- Lock exposure and focus (AE/AF Lock): Tap and hold to lock on the reflection or the subject you want sharp. Then adjust exposure by sliding to avoid blown highlights.
- Use HDR carefully: HDR can rescue scenes with high contrast, but on reflective surfaces it may amplify ghosting or double exposures. Try both HDR on and off to compare.
- Manual/Pro mode: If your phone offers manual ISO and shutter speed, lower the ISO to reduce noise and increase shutter speed to avoid motion blur from handheld movement.
- Focus point selection: On glass, tapping to focus on the subject behind the glass instead of the surface helps your phone choose a clearer focal plane.
Compose with reflections in mind
Think of reflections as a second frame within your scene. They can mirror the subject symmetrically, echo color, or provide contrast.
- Symmetry and negative space: Use the reflection to create balanced, symmetrical compositions. Let the reflection occupy one-third or half of the frame for drama.
- Incorporate leading lines: Reflections often emphasize lines — use them to lead the eye toward your subject.
- Flip vertically in editing: For puddles and water reflections, try cropping and flipping the image so the reflection becomes the primary subject; it can create surreal results.
Post-processing: fix the stubborn stuff
Even with careful shooting, you may need to correct small issues. Here are my go-to edits on a smartphone.
- Spot removal: Apps like Snapseed or Adobe Lightroom Mobile have healing tools that remove small reflections of yourself or camera rigs.
- Highlights and shadows: Reduce highlights to recover blown reflective areas; lift shadows slightly to reveal detail behind glass.
- Local adjustments: Use selective brushes to desaturate an area that’s showing distracting color casts (e.g., neon reflections in a window).
- Polarizing effects: If you can’t use a physical polarizer, apps like Lightroom can simulate a polarizing effect by lowering highlights and increasing midtone contrast.
When to embrace the reflection (and when to avoid it)
Not every reflection needs to be removed. Sometimes including the photographer is intentional — a human element that adds context or personality. I deliberately include my hands when photographing a watch or a bracelet in a mirror because it grounds the image and feels intimate. Other times, the reflection is purely distracting and should be minimized.
Quick checklist I use before pressing the shutter
| Angle | Have I tried moving left/right/up/down to avoid being reflected? |
| Light | Is light soft or angled to prevent hotspots? |
| Accessories | Is the glass clean? Do I need a polarizer or reflector? |
| Settings | AE/AF locked? HDR on/off tested? Focus on subject or behind glass? |
| Composition | Does the reflection add to the story or distract from it? |
Photographing reflective surfaces with a smartphone is as much about problem-solving as it is about aesthetics. Treat the reflection as a collaborator: reposition, tweak the light, or edit gently until the reflection says what you want it to. With a few practiced moves and the right phone features, you’ll stop falling into the mirror trap and start creating images that feel crisp, intentional, and a little magical.